
Getting a good wood finish comes down to how well you prepare the surface. I’ve seen plenty of projects fall apart at the final coat because someone rushed through sanding or grabbed the wrong brush. Sanding brushes, with their flexible abrasive filaments, do something sandpaper can’t: they follow curves and reach into details without flattening everything out. The grit you choose matters more than most people realize. Too coarse and you’re chasing scratches for hours. Too fine on rough stock and you’re wasting time while the brush overheats. This piece walks through how to match sanding brush grit to your actual finishing goals, whether you’re prepping for stain, building up to a high-gloss lacquer, or just cleaning up edges on production runs.
Sanding Brush Types and What Makes Them Cut
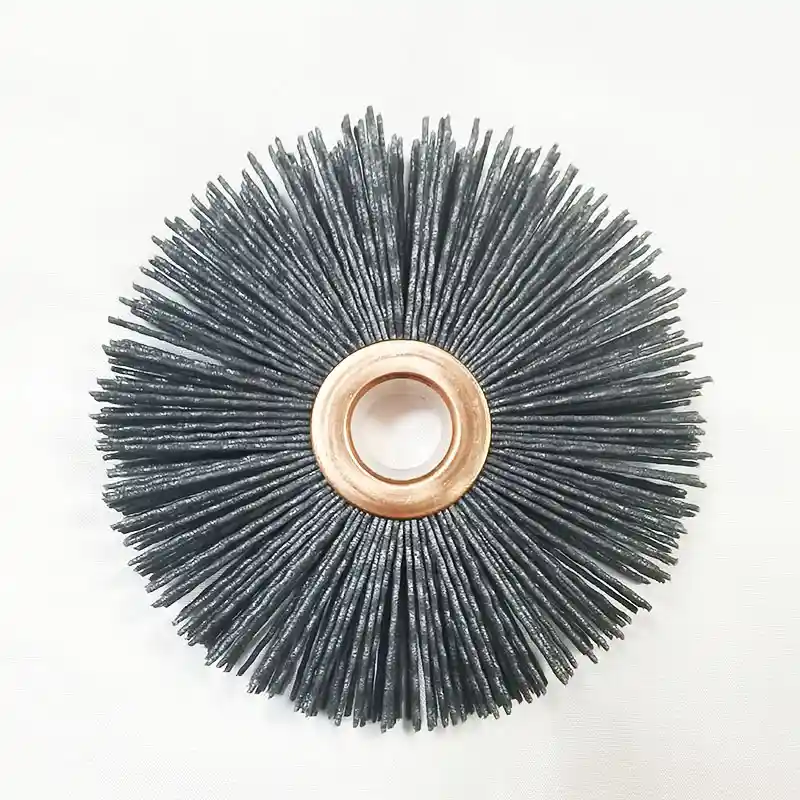
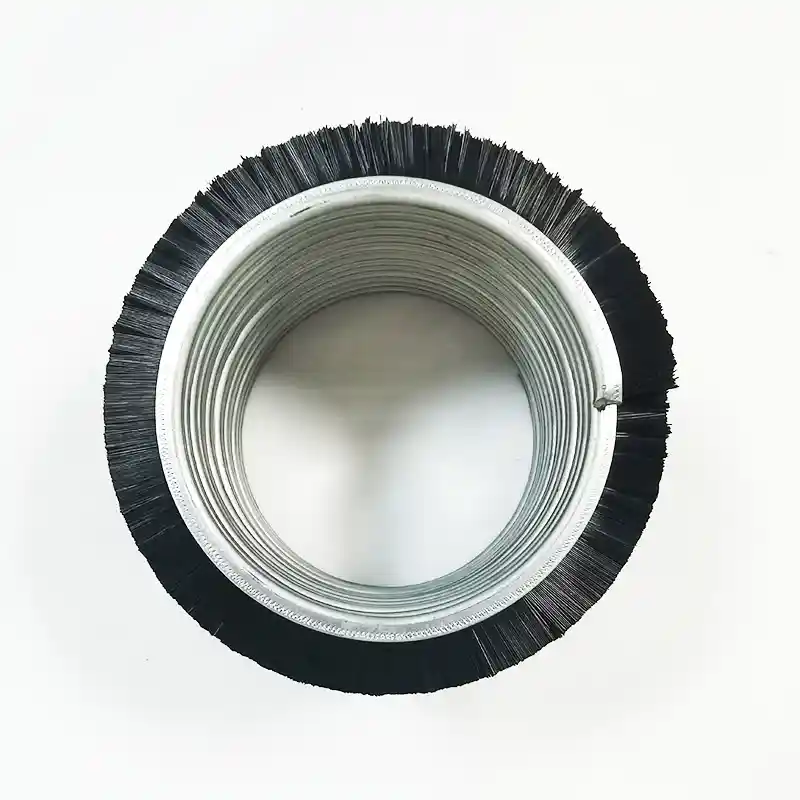
Sanding brushes come loaded with different abrasive materials, and each one behaves differently on wood. The filaments themselves carry the grit, usually silicon carbide or aluminum oxide, embedded right into the bristle material. That’s what gives them their cutting action. Silicon carbide tends to be sharper and works well on hardwoods. Aluminum oxide is a bit tougher and holds up longer on softer species.
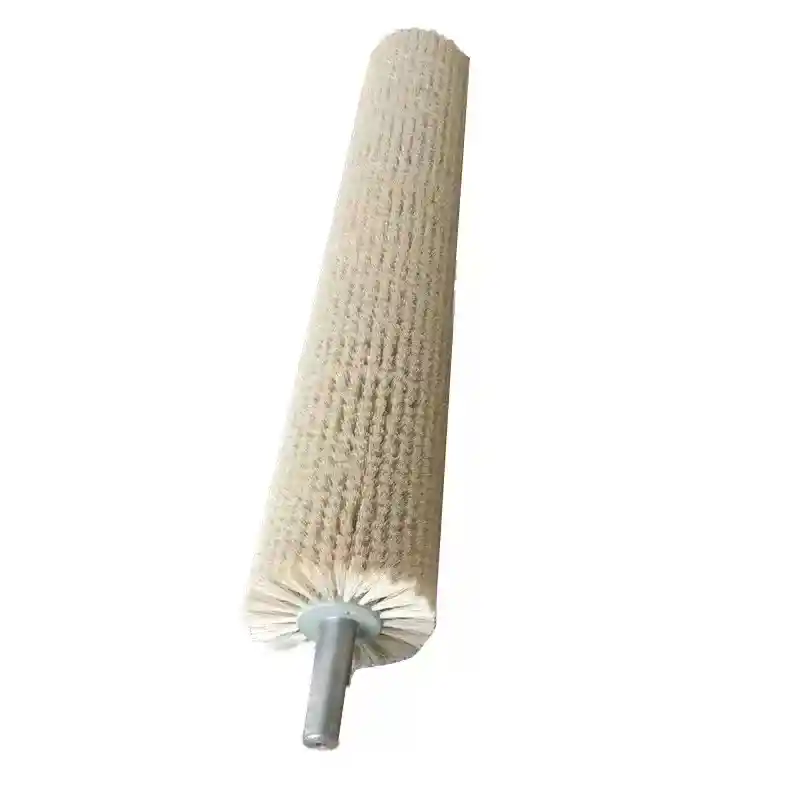
The flexible construction is the real advantage here. Unlike rigid abrasive discs, these brushes conform to the surface. Run one over a curved chair leg or a routed edge and it follows the contour instead of grinding it flat. Power tools like rotary sanders and finishing machines often use these brushes because they deliver even contact across irregular shapes.
| Material Type | Abrasive | Typical Applications | Characteristics |
|---|---|---|---|
| Nylon with Silicon Carbide | Silicon Carbide | Hardwood finishing, grain raising removal | Sharp cutting action, good for fine detail work |
| Nylon with Aluminum Oxide | Aluminum Oxide | General wood sanding, softwood preparation | Durable, consistent wear pattern |
| Natural Fiber Blends | Various | Light finishing, polishing | Gentler action, suitable for final passes |
Matching Grit to Your Finish Goal
The grit number tells you how aggressive the brush will be. Lower numbers mean larger abrasive particles and faster material removal. Higher numbers mean finer particles and smoother results. The trick is knowing where to start and where to stop based on what you’re actually trying to achieve.
Rough stock with mill marks or old finish residue needs a coarse starting point, somewhere in the 80 to 120 range. These grits level the surface and knock down high spots quickly. But they leave scratch patterns that show through stain, so you can’t stop there.
For stain preparation, most furniture work lands in the 150 to 180 range as a final sanding grit. The wood accepts stain evenly at this level without looking scratched. If you’re going straight to a film finish like lacquer or polyurethane, push to 220. Paint adhesion actually benefits from a slightly coarser surface, so 150 works fine there.
The progression matters as much as the final grit. Jumping from 80 straight to 220 leaves the deeper scratches from the coarse grit buried under a thin layer of fine sanding. They’ll telegraph through your finish. Step up gradually: 80 to 120 to 150 to 180 to 220 if you need that level of refinement.
| Finish Goal | Initial Condition | Recommended Grit Range (Start) | Recommended Grit Range (End) | Notes |
|---|---|---|---|---|
| Paint Preparation | Rough sawn lumber | 80-100 | 120-150 | Slightly coarser final grit improves paint adhesion |
| Stain Application | Milled lumber | 100-120 | 150-180 | Even absorption requires consistent scratch pattern |
| Clear Coat (Satin) | Pre-sanded stock | 150 | 180-220 | Remove previous sanding marks completely |
| High-Gloss Lacquer | Smooth stock | 180 | 320+ | Ultra-fine grits eliminate visible scratches |
| Edge Deburring | Machined edges | 120-150 | 180 | Focus on removing sharp fibers without rounding over |
Fine Furniture Finishing Grit Selection
For fine furniture finishing, you want to end up at 220 grit or higher. At this level, the scratch pattern becomes invisible to the naked eye, even under a high-gloss topcoat. The wood grain shows through cleanly without interference from sanding marks.
Some finishers push beyond 220 for pieces that will receive multiple coats of high-build lacquer or French polish. Grits in the 320 to 400 range create an almost burnished surface. The wood fibers lay down completely flat, and the first coat of finish goes on like glass.
The caveat: going too fine can actually cause adhesion problems with some finishes. Oil-based polyurethane, for example, needs a little tooth to grab onto. Check your finish manufacturer’s recommendations before sanding past 220.
Why Grit Selection Determines Finish Quality
Wrong grit choices create problems that compound through every subsequent step. Start too coarse on a piece destined for clear finish and you’re committed to removing all that material before you can move forward. Those 80-grit scratches go deeper than you’d think, sometimes 0.003 to 0.005 inches into the surface. That’s a lot of wood to remove with finer grits.
Start too fine on rough stock and you’re just polishing the high spots while the low areas never get touched. The brush heats up from friction without actually cutting, which can scorch lighter woods and definitely shortens brush life.
Stain absorption tells the story clearly. Sand a test piece to 100 grit on one half and 180 on the other, then apply stain. The coarser side absorbs more stain and looks darker, often blotchy. The finer side takes stain evenly and shows the grain pattern you actually want to see.
Damage from Incorrect Grit Selection
Using the wrong sanding brush grit absolutely damages wood. A coarse grit on delicate veneer can cut right through to the substrate in seconds. Even on solid wood, aggressive grits leave scratches that require significant material removal to eliminate.
The damage isn’t always obvious immediately. Deep scratches from coarse grits can hide under the dust until you wipe the surface with solvent or apply the first coat of finish. Then they appear as dark lines running across your carefully prepared surface.
Overheating from using too fine a grit on rough surfaces causes its own problems. The friction generates enough heat to actually case-harden the wood surface, making it resist finish penetration. On resinous species like pine, you can draw pitch to the surface that bleeds through paint.
Technique Matters as Much as Grit Selection
Selecting the right sanding brush grit gets you halfway there. How you use the brush determines whether you actually achieve the finish quality that grit should deliver.
Pressure consistency is the first variable to control. Pushing harder doesn’t make the brush cut faster; it just causes uneven wear and can create depressions in softer areas of the wood. Let the abrasive do the work. On power tools, this means maintaining steady feed rates and avoiding the temptation to bear down on stubborn spots.
Speed control matters more than most operators realize. Running a sanding brush too fast generates heat without improving cut rate. The abrasive particles need time to engage the wood fibers and lift them away. Slower speeds with consistent pressure produce better results and extend brush life significantly.
Direction relative to grain is non-negotiable for visible surfaces. Cross-grain sanding leaves scratches that catch light differently than the surrounding wood, creating visible lines even under opaque finishes. Always make your final passes with the grain, using long, even strokes that overlap slightly.
Sanding Brushes Compared to Sandpaper
Sandpaper works fine on flat surfaces. The problem comes when you need to sand anything else. A piece of sandpaper wrapped around a dowel to sand a curved surface still creates flat spots. The paper conforms somewhat, but it’s fundamentally a flat abrasive trying to work a curved surface.
Sanding brushes solve this problem through their construction. The individual filaments move independently, each one following the surface contour beneath it. A cylindrical brush running along a shaped molding contacts the entire profile simultaneously, sanding the coves and rounds at the same rate as the flats.
Heat buildup is measurably lower with sanding brushes. The spaces between filaments allow air circulation and provide somewhere for dust to go. Sandpaper traps dust against the surface, where it acts as an insulator and accelerates heat buildup. This matters especially on figured woods where heat can cause checking along the grain lines.
Brush longevity typically exceeds sandpaper in production settings. The abrasive is embedded throughout the filament, not just coated on the surface. As the filament wears, fresh abrasive becomes exposed. A single brush can outlast dozens of sandpaper discs on contoured work.
| Feature | Sanding Brushes | Traditional Sandpaper |
|---|---|---|
| Conformability | Excellent; adapts to contours and irregular surfaces | Limited; struggles with complex shapes, can flatten details |
| Heat Generation | Lower; reduces risk of burning wood | Higher; can cause heat buildup and discoloration |
| Dust Control | Generally better; filaments help lift and remove dust | Can create significant dust, requiring more extraction |
| Longevity | Often longer-lasting due to flexible, abrasive filaments | Wears out faster, especially on edges and contours |
| Finish Uniformity | More consistent, even finish on varied surfaces | Can be uneven, especially on non-flat areas |
Discover Huixi Brush’s Superior Sanding Solutions
Elevate your furniture finishing with precision-engineered sanding brushes from Shanghai Huixi Trading Co., Ltd. With 16 years of manufacturing expertise and a commitment to quality, we provide customized brush solutions for industrial sealing, cleaning, polishing, and deburring. Contact us today for professional technical support, ODM/OEM services, competitive pricing, and free samples. Choose Huixi Brush, your reliable partner for superior wood finishing. Call +86 1580 0932 713 or email [email protected].
Frequently Asked Questions
How do I clean and maintain my sanding brushes for longevity?
Remove accumulated dust after each use with compressed air or a stiff cleaning brush. Blow air through the filaments from the back side to push debris out rather than deeper in. For brushes with wood resin buildup, a quick soak in mineral spirits dissolves the pitch without damaging nylon filaments. Rinse with clean solvent and let the brush dry completely before storage. Keep brushes in a drawer or cabinet away from humidity and temperature swings. Storing them bristle-side up prevents the filaments from taking a permanent set.
Are there specialized sanding brushes for intricate furniture details?
Smaller diameter brushes and tapered profiles exist specifically for detailed work. A quarter-inch diameter brush reaches into tight corners that larger brushes would bridge over. Tapered brushes work well for carved details where the profile changes depth. For this kind of work, finer grits in the 180 to 220 range prevent removing material from high points faster than low points. The goal is uniform refinement without altering the carved or routed profile. Custom brush configurations can match specific molding profiles for production work.
What makes Huixi’s sanding brushes ideal for professional furniture makers?
Sixteen years of manufacturing experience shows in the consistency of the product. Professional furniture makers need brushes that perform the same way from the first piece to the thousandth. Huixi’s sanding brushes maintain their grit distribution and filament flexibility throughout their service life. The range of available configurations means you can get the right brush for your specific application rather than adapting your technique to whatever brush happens to be available. Technical support helps match brush specifications to your wood species, finish type, and production requirements.

